 How-to
How to Get Natural Looking Porcelain Veneers
Last Updated: November 10, 2026
Quick Summary
Natural looking veneers come from planning before any tooth is touched: matching shade and translucency rather than chasing maximum whiteness, following facial proportions, and choosing an experienced cosmetic dentist who plans each case as part of one smile. The right material also matters, since translucency is what makes a veneer look alive.
- Asking for the whitest possible shade is the fastest way to get an artificial look.
- Translucency, not whiteness, is what makes a veneer look alive.
- Digital Smile Design turns subjective opinions into measurable relationships before treatment begins.
- Compare shades in natural daylight, not harsh overhead lighting, and check them before any whitening.
- Brush twice a day with a soft-bristled brush and avoid whitening products and abrasive toothpastes.
Table of Contents
- Why Some Porcelain Veneers Look Fake
- Step 1: Choose an Experienced Cosmetic Dentist
- Step 2: Match Facial Harmony and Tooth Proportions
- Step 3: Use a Porcelain Veneer Color Chart to Select Shade
- Step 4: Plan Enamel Preparation, Bite and Customization
- Natural-Looking Veneers Before and After: What to Expect
- Maintaining Veneers and Understanding Natural-Looking Veneers Cost
- Booking Your Veneer Consultation at Kevin Nail DDS
- Frequently Asked Questions
Porcelain veneers can transform a smile, but when they look fake, the problem usually starts long before the dentist places the first shell, and achieving natural looking veneers depends on that early planning. Natural-looking results come from careful planning, honest conversations about shade and shape, and a provider who treats cosmetic work as both an art and a science. This guide walks through the decisions that separate a convincing smile from one that looks like a set of bright white tiles.
Below, you'll learn what makes veneers look artificial, how to choose a provider, and how shade, facial proportions and bite all shape the final result.
Why Some Porcelain Veneers Look Fake
Most veneers that look fake share a few common traits. The shade is too white, the edges are too uniform, and the shape ignores the rest of the face. Teeth in nature are rarely identical. They vary in color, have subtle translucency near the edges, and show small variations in surface texture.
A common mistake is choosing veneers from a catalog shade rather than matching the surrounding teeth and the patient's skin tone. Another is treating each tooth as a separate project instead of part of one smile.
Watch out: Asking for the whitest possible shade is the fastest way to get an artificial look.
Step 1: Choose an Experienced Cosmetic Dentist
Skill matters more than any material choice. Look for a dentist who can show you before-and-after cases and explain how they planned each one. Ask how many cosmetic cases they complete in a typical year and what advanced training they have.
Ask about the dental laboratory they use, too.
Ask any provider you consider who will perform each step of your treatment, since natural looking veneers depend on one clear plan.
Step 2: Match Facial Harmony and Tooth Proportions
Natural smiles follow the face. The upper front teeth should frame the lips, and their length, width and symmetry should suit your facial features. Veneers that ignore these proportions often look oversized, flat or simply wrong, even when the color is well matched.
Digital Smile Design (DSD) is one planning method some cosmetic dentists use before any tooth is touched.
The value of DSD is that it turns subjective opinions into measurable relationships. Common reference points include the relationship of the teeth to the lower lip when smiling, the way the central incisors' width compares to the face, and whether the smile arc, the curve formed by the upper teeth's edges, follows the curve of the lower lip. These are not rules applied the same way to everyone, but they give both you and the dentist a shared language.
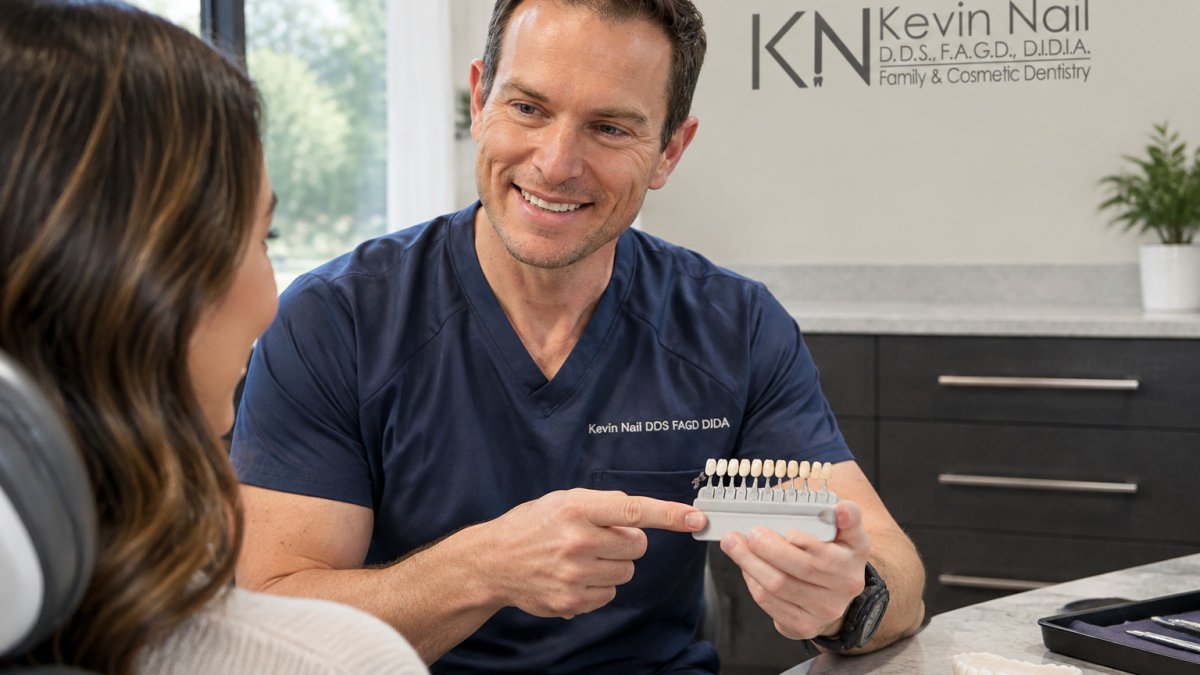
Step 3: Use a Porcelain Veneer Color Chart to Select Shade
Shade selection is where natural-looking veneers are won or lost, but the shade guide is only half the story. The material the lab uses determines how light moves through the veneer, and that often matters more than the exact shade name on the chart.
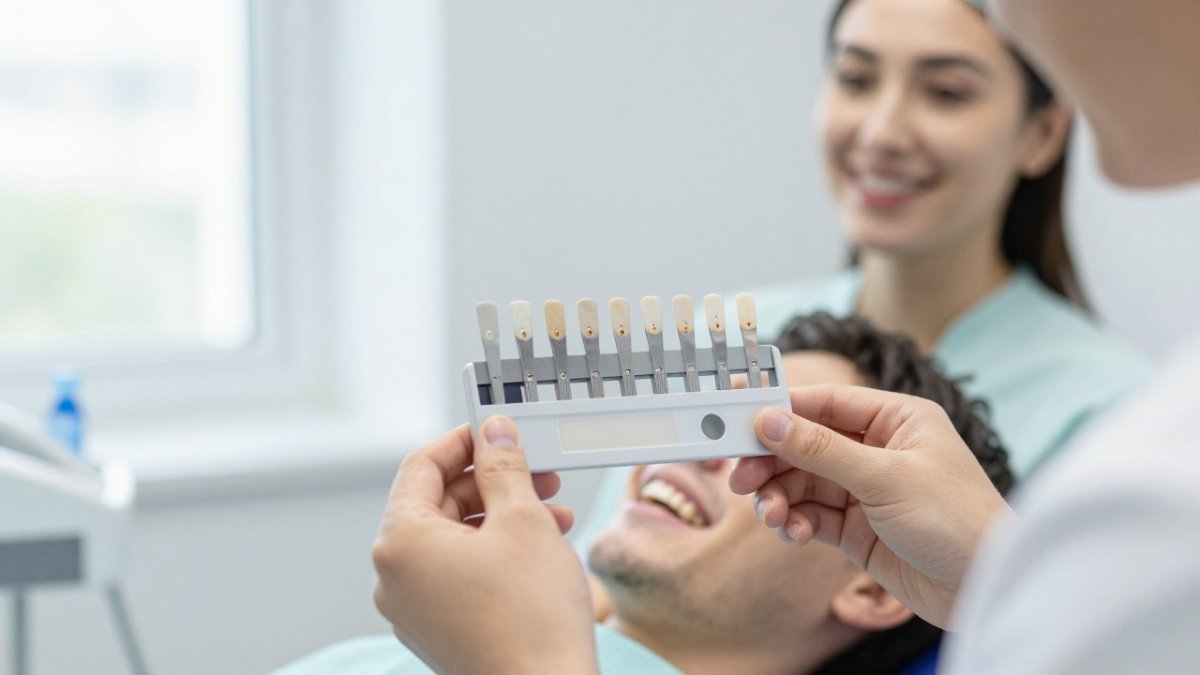
Veneers are commonly made from several material families, each with a different optical behavior:
- Lithium disilicate (E-max type): A glass-ceramic that is highly translucent. It transmits light the way enamel does, which makes it the common choice for thin, natural-looking front teeth. Its tradeoff is that it is somewhat less strong than zirconia, so it is usually bonded rather than placed on heavily loaded teeth.
- Feldspathic porcelain: A traditional glass-based porcelain that offers excellent surface detail and a lifelike, layered appearance. It is often considered the most optically natural material, but it is more fragile and is typically reserved for minimal-prep cases where the tooth structure is strong enough to support it.
- Zirconia: A very strong crystalline ceramic that is more opaque. Newer translucent zirconia formulations have narrowed the gap, but fully opaque zirconia can look flat or chalky at the edges if it is not layered or stained carefully. It suits patients who grind their teeth or need added durability.
The practical point is that translucency, not whiteness, is what makes a veneer look alive. Natural enamel is thicker in the center and thins toward the incisal edge, so light enters, scatters and exits at the edge. A veneer that is uniformly opaque reflects light back as a flat surface, which is one of the most common reasons it reads as artificial.
When you review shade options with your dentist, ask:
- Which material is recommended for my case, and why?
- Will the veneer be layered, with separate dentin and enamel-like porcelain, or made from a single block?
- How will the incisal edge be handled so it transmits light rather than looking solid?
- Will the neck near the gum be shaded slightly deeper, as natural teeth are?
Compare shades in natural daylight, not harsh overhead lighting, and check them before any whitening, since whitening can change the planned match. Choose a shade that blends with your other teeth rather than a brighter target.
Watch out: Asking the lab for maximum brightness without discussing translucency and material is the most reliable way to produce a veneer that looks like a tile.
The article compares the main veneer materials and how each handles light, which affects how natural the final result looks.
| Material | Best for | Key difference |
|---|---|---|
| Lithium disilicate (E-max type) | Thin, natural-looking front teeth | Highly translucent, transmits light like enamel |
| Feldspathic porcelain | Minimal-prep cases with strong tooth structure | Most optically natural, but more fragile |
| Zirconia | Patients who grind their teeth or need durability | Very strong, more opaque; can look flat if not layered |
Step 4: Plan Enamel Preparation, Bite and Customization
Veneers require some enamel removal so the shell sits flush with the tooth. The amount varies by case. Minimal-prep and no-prep options exist for some patients, but they are not right for everyone. A careful dentist removes only what is needed and explains the tradeoffs clearly.
The bite matters just as much. Your veneers must fit with your upper and lower teeth as they meet, a relationship called occlusion. A veneer that interferes with your bite can chip, wear unevenly or cause discomfort. Bite checks and, when needed, adjustments should be part of your plan.
Customization ties it all together. Handcrafted porcelain lets the lab add small surface textures, subtle staining and natural edge translucency. Ask whether your veneers will be custom-made for your case or selected from a standard set.
Natural-Looking Veneers Before and After: What to Expect
Before-and-after photos show how much a well-planned case can change a smile without making it look unnatural. Expect the result to look refreshed rather than dramatically different. Friends and family often notice that you look well rested or simply happier, but they rarely identify the veneers.
Realistic results depend on your starting teeth, gum health, bite and goals. Ask to see cases with similar starting points, and look for photos taken in natural light, not heavily edited images.
Maintaining Veneers and Understanding Natural-Looking Veneers Cost
With proper care, veneers can last for years. Brush twice a day with a soft-bristled toothbrush and a non-abrasive toothpaste. Avoid whitening products and abrasive toothpastes that can dull the porcelain surface over time. Keep up with regular dental cleanings and checkups so your gums stay healthy around the veneers.
Good habits protect your investment. Avoid chewing ice or hard objects, and wear a night guard if you grind your teeth.
Cost depends on the number of teeth, the materials used, the planning involved and your specific needs. For current pricing or a quote, contact the practice directly or check its website.
Booking Your Veneer Consultation at Kevin Nail DDS
A consultation is the best first step toward natural-looking porcelain veneers. At Kevin Nail DDS, you can review your smile goals, discuss shade and shape options, and ask how the treatment plan would work for your teeth and bite. You can also visit Your Dream Smile Starts Here to see the local booking details and sedation options.
Call 281-550-9054 to schedule your consultation with Dr. Kevin Nail.
Frequently Asked Questions
How do I make my veneers look more natural?
Natural-looking veneers come from shade selection that matches the translucency and edge color of your neighboring teeth, not just the brightest option on a shade guide. Ask your dentist to show you shades in natural daylight, and to include slight variation in color and surface texture rather than a uniform white. Tooth shape and length should also match your face and your remaining teeth. A clear plan for these details, shared before any enamel is removed, is the strongest way to reduce the risk of a fake-looking result.
What factors influence the translucency of porcelain veneers?
Translucency depends on the ceramic material, its thickness, and how light passes through and reflects off the veneer. Thinner veneers and certain porcelain types let more light through, which helps them blend with natural enamel near the incisal edge. Your dentist's lab work and the shades chosen for the body and edge of each tooth also play a role. Because these factors interact, discuss the goal of a translucent, lifelike result during your consultation.
How does the choice of dental material affect the natural appearance of veneers?
Porcelain and composite resin behave differently in how they reflect light, hold stain and keep their surface texture over time. Porcelain is widely used in cosmetic dentistry because it resists staining and can be custom-made to mimic natural enamel. Composite can be placed in a single visit but may not match the same depth and luster. Your dentist can explain which material suits your aesthetic goals and how each one is expected to age.
What can mess up veneers?
Veneers can look artificial or wear poorly when they are chosen in a shade that is too white, when the bite is not balanced, or when the teeth are not cared for with soft-bristled brushes and non-abrasive toothpaste. Grinding, biting hard objects and using harsh whitening products can also affect the surface over time. Regular dental checkups allow your dentist to check the bite and the margins, which helps the result last. Results vary by individual, so review your specific risks with your dentist.